


Minisplit Installation in Coolidge, AZ
Welcome to our website, where we offer a range of services tailored to meet your needs. Explore our offerings and discover how we can assist you today.
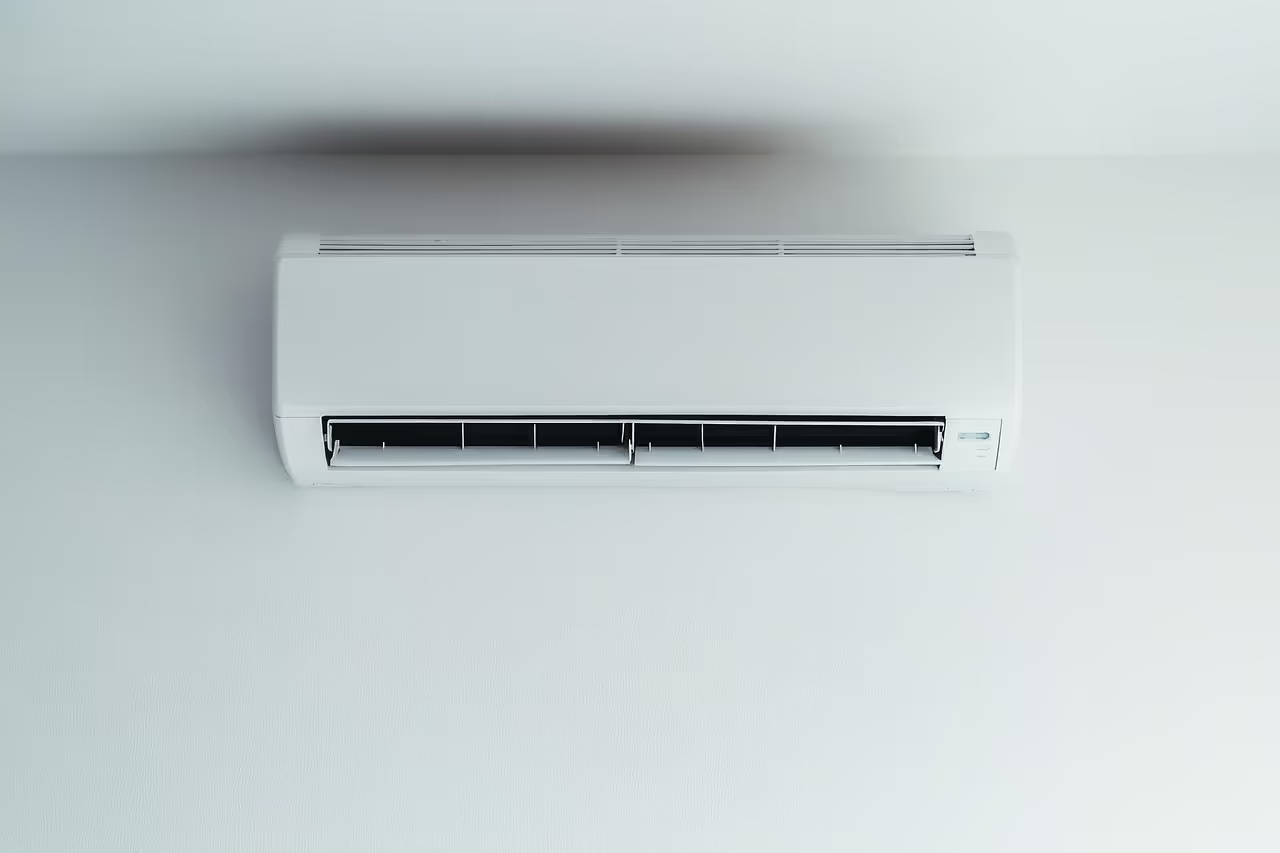
.webp)
Overview: This page explains how to plan and execute a ductless minisplit installation in Coolidge, AZ, including selecting the right capacity, choosing indoor and outdoor locations, and routing line-sets with minimal wall penetrations. It also covers common installation types (single- and multi-zone, ceiling cassette, retrofit, new construction), electrical needs, permits, refrigerant charging, commissioning, and post-installation checklists. It also highlights common Coolidge issues (dust, heat, monsoon humidity) and long-term benefits of professional, code-compliant installation for efficiency and comfort.
Minisplit Installation in Coolidge, AZ
Installing a ductless minisplit system in Coolidge, AZ is one of the most effective ways to add targeted cooling and heating where your central system struggles. With long, hot summers, dusty conditions, and seasonal monsoon humidity swings, Coolidge homes benefit from zoned comfort, high-efficiency inverter technology, and the ability to condition spaces without extending or modifying existing ductwork. This page explains the installation process, common local issues, and why a professional, code-compliant installation matters for long-term performance.
Common minisplit installation types in Coolidge
- Single-zone wall-mounted systems for bedrooms, home offices, and bonus rooms
- Multi-zone systems serving multiple rooms with one outdoor condenser
- Floor- or low-wall-mounted units for garage or accessibility-friendly spaces
- Ceiling cassette or concealed-duct indoor units for living rooms and remodeled spaces
- Retrofit installs for older homes where ducts are impractical
- New construction minisplit integration for high-efficiency homes
Site assessment and selecting the right capacity
A proper minisplit installation begins with a site assessment tailored to Coolidge homes. Technicians evaluate:
- Room size, layout, and ceiling height
- Window orientation and solar gain (west-facing rooms often need more capacity)
- Insulation levels and air infiltration typical of local building stock
- Intended use patterns and desired temperature control per zone
Capacity selection uses industry-standard load calculations, adjusted for local climate extremes. Oversizing leads to short cycling, poor dehumidification during monsoon months, and higher operating costs. Modern inverter-driven minisplits allow precise capacity matching and better humidity control when sized and installed correctly.
Indoor and outdoor unit placement
Correct placement of both indoor and outdoor units is essential for comfort and longevity.
- Indoor units: mounted where airflow can reach the entire zone without blowing directly on occupants. Avoid installing directly above electronics or in locations exposed to excessive dust or lint (near kitchen or workshop areas). Consider ceiling cassette or concealed units for unobtrusive installations.
- Outdoor units: located on a stable pad, elevated slightly to avoid splash from rain and monsoon runoff, and positioned where they receive shade during the hottest part of the day. Leave adequate clearances for airflow and service access and avoid enclosed areas that trap heat and dust.
In Coolidge, protecting the outdoor unit from direct afternoon sun and heavy dust accumulation improves efficiency and reduces maintenance needs.
Line-set routing, condensate, and aesthetics
Line-sets (refrigerant lines), electrical conduit, and condensate drains should be routed for short, direct runs while minimizing wall penetrations. Typical considerations:
- Use a single neat penetrations chase where possible to reduce visual impact
- Ensure refrigerant lines are properly insulated to prevent heat gain and condensation on the exterior wall
- Slope condensate drains correctly and terminate them at code-compliant locations or connect to existing drainage where permitted
- Conceal linesets in a small channel or paint-matched raceway for a finished look
Long runs and multiple bends increase refrigerant charge and can reduce performance, so planning placement to keep line-sets short is preferable.
Electrical needs and permitting
Minisplit systems require a dedicated circuit sized to the manufacturer’s specifications and an outdoor disconnect per local code. Electrical considerations include:
- Voltage and amperage matching to the unit nameplate
- Proper breaker size and wire gauge for continuous duty loads
- Grounding and surge protection recommendations for desert lightning and transient events
- Coordination with local building departments for permits and inspections
In Pinal County and other local jurisdictions, valid permits and inspections are often required for new HVAC installs. Professional installation ensures compliance with local codes and safety standards.
Refrigerant charging and commissioning
Proper refrigerant handling is a critical step. The installation sequence typically includes:
- Pressure testing with dry nitrogen to confirm system integrity and check for leaks
- Evacuation to a deep vacuum to remove moisture and non-condensables
- Charging the system per manufacturer guidance, accounting for line-set length and factory precharge
- Measuring superheat and subcooling values, verifying pressures and temperatures under operating conditions
Commissioning verifies the system operates efficiently across modes and that the controls and remote thermostats are configured for the homeowner’s needs.
Post-installation testing and homeowner orientation
A thorough post-installation checklist improves reliability and owner satisfaction:
- Verify airflow patterns and confirm temperature differentials across the coil
- Measure amp draw and verify electrical connections are within safe limits
- Inspect condensate drains and perform a water flow test
- Test remote controls, scheduling features, and any integrated smart controls
- Provide a clear orientation on filter cleaning, remote use, and basic troubleshooting
Technicians should leave documentation on system specifications, recommended maintenance intervals, and warranty terms.
Common minisplit issues in Coolidge and solutions
- Dusty filters and reduced airflow: Clean or replace filters frequently during dusty months to maintain efficiency.
- Reduced cooling during heat waves: Proper sizing and shaded outdoor placement mitigate performance loss on extreme days.
- Condensate clogs during monsoon season: Ensure drains are sloped and accessible for periodic clearing.
- Short cycling: Usually a sign of oversizing or electrical issues; correct sizing and proper commissioning prevent this.
- Outdoor coil fouling: Regular outdoor coil cleaning reduces refrigerant pressure issues and keeps efficiency high.
Routine maintenance and seasonal checks are especially important in Coolidge’s dusty, hot environment.
Long-term benefits and maintenance guidance
A professionally installed ductless minisplit provides precise zone control, lower operating costs compared with window units or space heaters, and improved comfort with superior humidity control when sized and commissioned correctly. For Coolidge homes, the right minisplit system reduces strain on central systems and targets comfort where you need it most.
Recommended maintenance includes:
- Monthly filter checks and cleaning during high-use months
- Annual tune-ups that include electrical checks, refrigerant verification, and condensate line cleaning
- Outdoor unit clearance and coil cleaning after monsoon season or dust storms
With experienced installation and consistent upkeep, a minisplit system can deliver efficient, reliable comfort for many years.
Professional installations in the Phoenix Metro area apply decades of HVAC experience to ensure systems perform in local climate extremes. 24/7 service availability helps address urgent issues quickly, keeping your minisplit operating reliably through Coolidge’s hottest and dustiest seasons.